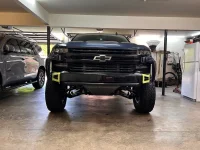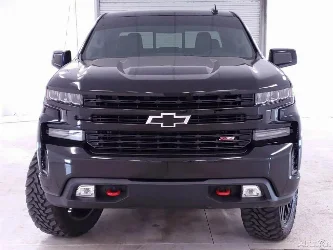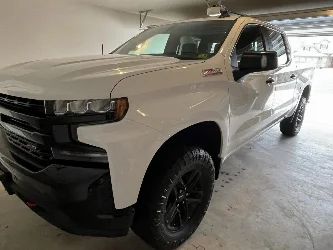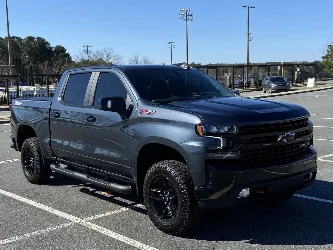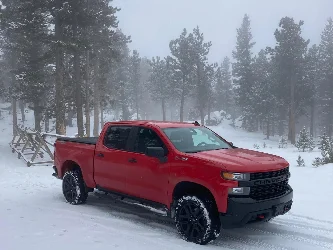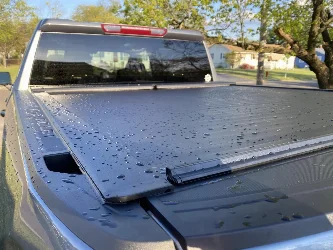
Long Travel & Wide body build

3.73 rear gears and springs are done. No pictures of the regear process. My hands were covered in gear oil the whole time.

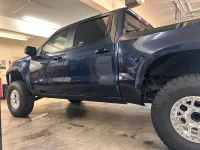
I should have measured before and after, but going from a stock spring with a Deaver mini pack to these R81’s should have netted 1.5” of lift. Since I have a longer shackle, it’s probably back to stock trail boss height. These springs are crazy heavy, I had to have help putting them in place.

IMG_7916.webp
IMG_7918.webp
IMG_7919.webp
IMG_7920.webp
 
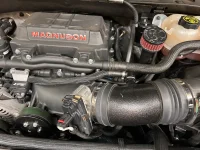
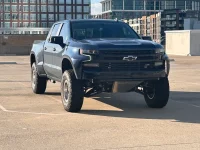
New Fox Long Travel Shocks are installed. New 3.73 gears front and rear. And a fresh set of BFG’s on deck once I get the alignment set. If GM made a competitor for the Raptor R and TRX, this would be it. 700hp supercharged, long travel Silverado!

Front gears in these 19+ 1500’s have one tricky part. The drivers side stub shaft in mine was extremely difficult to get out. No way to attach a slide hammer to pull it out, and very limited access to drive it out from the inside because you can’t remove the cross shaft in the diff due to the welded gear. I had to actually break the snap ring driving it out. It fought hard, but I won.

IMG_7930.webp
IMG_7929.webp

IMG_7932.webp


C14E55A6-DE73-4A18-B036-6970EBFFBDE7.webp

05A3F550-F6E3-4C74-BB85-8362D537DAB0.webp
 
If GM made a competitor for the Raptor R and TRX, this would be it. 700hp supercharged, long travel Silverado!
Good job is an understatement, but good job. I have no where near the technical knowledge but it was great following the documentation along. Maybe GM will get some ideas! Let us know how test and tune goes.
 
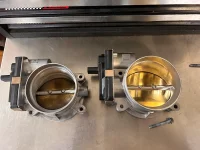
Thanks! I hadn’t done anything to it for a few months. But I recently decided to dig a little deeper into the tuning and trying to improve the drivability with the supercharger. Hp tuners recently added access to some of the throttle tables that are applicable to superchargers. It took a couple weeks to figure them out and tweak them to something appropriate. But now the truck drivers like it should. I have full throttle control. So, why not finally jump up to a 95mm lt5 throttle body.

IMG_8362.webpIMG_8360.webp

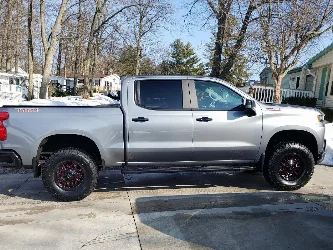
The paint on the front facing edge of the bedsides is getting beat by rocks. I’m not sure how I’m going to remedy that. But more paint work is in my cooler weather plans.

IMG_8339.webpIMG_8326.webp
 
Last edited:
I’ve thought about both. The ppf is a possibility, but the chips are 3/4 of the way up the bed. There’s no good body line to end it on and I don’t want to do the whole bed.

I can’t find a tinted bedliner that’s anywhere close to the blue on my truck. Seems like 90% of pre runners are white, black and silver.
 
the higher quality films have such a thin edge....i have a few coworkers rocking new Denali 2500's, and you really have to look for the edges.
most have just the leading edges done, only one has the entire vehicle PPF'd.
 
I looked into color matched bed liner a bit more and it was easier than I thought. When I did the glass last year, I used TCP Global black bedliner on the insides and tops of the bed sides. They offer a tintable bedliner and you can have it matched to your paint by having a paint supplier mix up the tint from a batch of basecoat. You're supposed to have mixed without clear base, but I read where others had used fully mixed base. Well, I have about 2/3 of a gallon left from the bedsides and fenders, so I wanted to try that. The paint had separated over the year and I was able to draw off the bottom to get more solids and less of the clear base. It turned out pretty good. The flake isn't as prominent and the gloss doesn't match, but it's as close as bedliner is going to get.

I'll post more about the color matched front bumper from the last picture when it's mounted back on the truck.
IMG_8459.webp
IMG_8458.webp

IMG_8460.webp

IMG_8462.webp

IMG_8466.webp
IMG_8465.webp

IMG_8472.webp
IMG_8471.webp
IMG_8469.webp
 
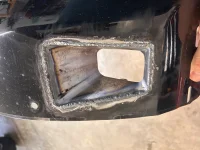
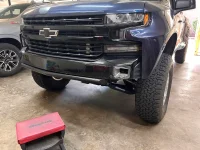
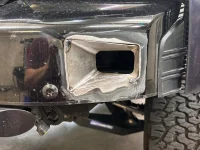
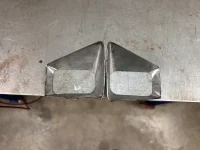
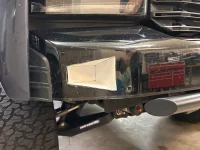
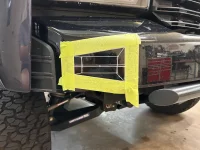
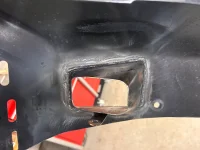
Install of the dirt king front bumper required cutting the original fog light mount part of the bumper off. I had them mounted behind the grill, but they were a little weak there. So, I figured why not french them into what’s left of the bumper since I was planning to paint/bed liner it anyway. I always wanted to color matched the bumper.
 

Attachments

  • IMG_8455.webp
    IMG_8455.webp
    199.7 KB · Views: 11
  • IMG_8437.webp
    IMG_8437.webp
    294.4 KB · Views: 9
  • IMG_8436.webp
    IMG_8436.webp
    235 KB · Views: 9
  • IMG_8423.webp
    IMG_8423.webp
    189 KB · Views: 8
  • IMG_8422.webp
    IMG_8422.webp
    274.3 KB · Views: 8
  • IMG_8421.webp
    IMG_8421.webp
    206.1 KB · Views: 8
  • IMG_8402.webp
    IMG_8402.webp
    185.4 KB · Views: 9
  • IMG_8400.webp
    IMG_8400.webp
    189.7 KB · Views: 10
  • IMG_8398.webp
    IMG_8398.webp
    264.1 KB · Views: 10
  • IMG_8456.webp
    IMG_8456.webp
    120.4 KB · Views: 10
the bumper turned out good. i was really on the fence with the raw pics.
little late now, but did you happen to play with the PSI when spraying your coating ?

i recently used Raptor liner for an under chassis coating, but sprayed it at about 90 psi to smooth it out some.
this was the first go at that PSI, but in person it laid out nicely and is rather slick to the touch

3233.webp
 
I used TCB Global and their gun has an adjustable nozzle, but it doesn't seem to do much through the adjustment. I sprayed at ~60psi. I wish it had turned out smoother, but the mix was too thick. I would have reduced it with some, but once you add the hardener and 3oz of tint, the bottle is completely full.
 
Back
Top